Spring is finally here, and with it comes the perfect opportunity to pamper your nails with natural, homemade treatments. After months of winter dryness, our nails deserve some extra TLC to restore their strength and beauty. I’ve gathered some of the most effective DIY nail treatments that you can easily make with ingredients from your kitchen. Let’s dive into these springtime nail revivers!
Why your nails need extra care this spring
Winter’s harsh conditions often leave our nails brittle and damaged. According to nail care experts, the transition to spring is the ideal time to restore nail health before summer activities begin. “The condition of the nails gives them their natural beauty. So, it’s important to maintain your nail health, especially during seasonal transitions,” explains Dr. Emma Richardson, dermatologist at Austin Wellness Center.
5 kitchen ingredients that transform nail health
Your pantry holds powerful nail-strengthening ingredients. These natural elements work just as effectively as many commercial products, without the harsh chemicals. After removing gel manicures, these ingredients can help your nails recover:
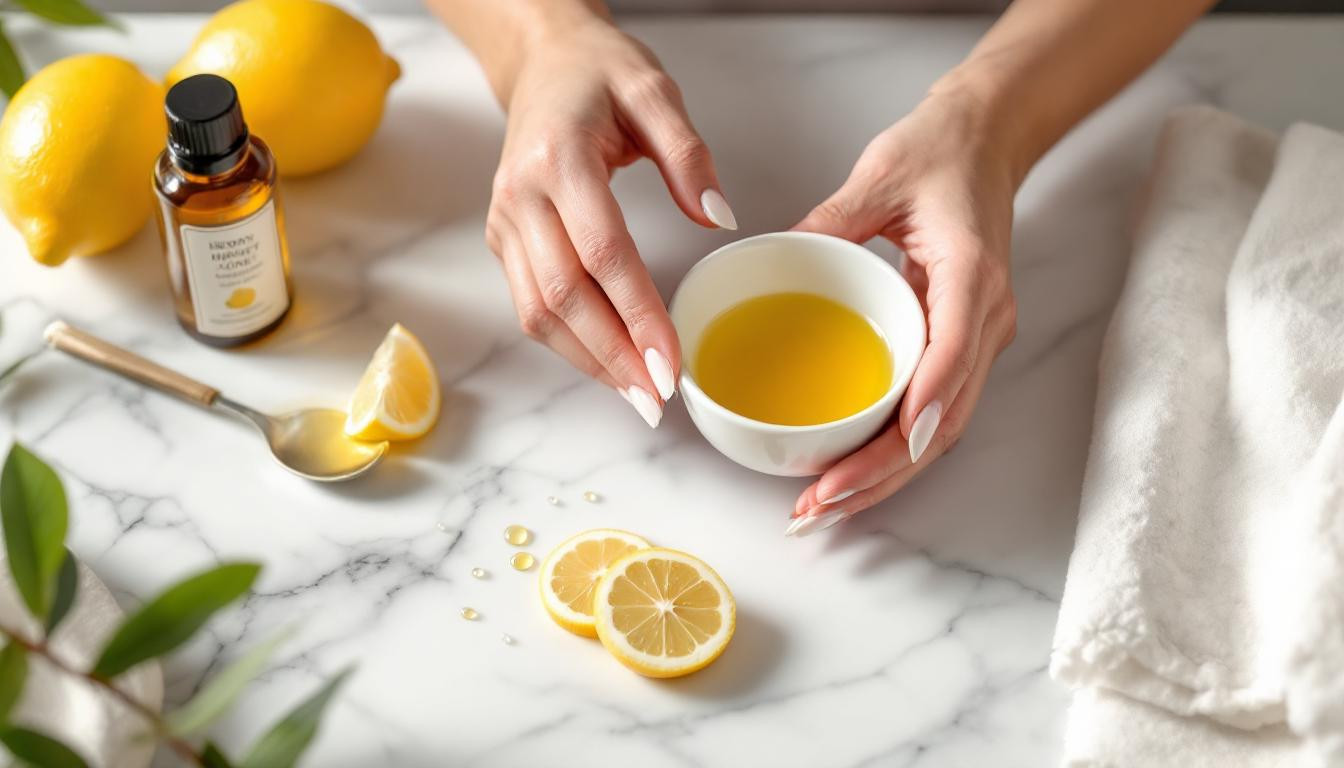
- Olive oil – Deeply moisturizes cuticles and brittle nails
- Lemon juice – Natural brightener that removes stains
- Honey – Antibacterial properties that strengthen nail beds
- Coconut oil – Prevents nail infections while softening cuticles
The overnight nail-strengthening treatment
This simple soak works like magic while you sleep. Mix two tablespoons of warm olive oil with one teaspoon of lemon juice. Soak nails for 15 minutes, then massage the remaining mixture into your cuticles. Wear cotton gloves overnight to wake up with noticeably stronger nails – like plants that grow stronger after being properly watered and nourished.
Spring-inspired cuticle oil blend
Create your own cuticle oil blend with seasonal ingredients. Combine one tablespoon of jojoba oil with three drops each of lavender and tea tree essential oils. This mixture mirrors what professionals use for nail recovery routines that promote growth while preventing splitting.
Exfoliating scrub for healthier nail beds
Just as we exfoliate our skin, our nails benefit from gentle removal of dead cells. Mix one tablespoon of sugar with one tablespoon of coconut oil and half a teaspoon of lemon juice. The result? A natural exfoliant that prepares your nails for perfect spring colors – some of which look stunning in every season.
Strengthener vs. hardener: The DIY solution
Many people confuse nail strengtheners with hardeners. “Strengtheners improve flexibility, while hardeners create rigid nails prone to breakage,” explains nail technician Sofia Martinez. Instead of commercial products that might damage your nails, try this natural strengthener: mix 1 teaspoon of vitamin E oil (from a punctured capsule) with 1 tablespoon of castor oil. Apply daily for results comparable to professional products.
Creative bases for short nail designs
Preparing your nails properly is essential before trying abstract nail designs that get compliments. Create a nourishing base coat by mixing clear nail polish with a drop of argan oil. This creates the perfect canvas for spring nail art while continuing to strengthen your nails throughout wear.
How often should you treat your nails?
- Deep moisturizing treatment: 1-2 times weekly
- Cuticle oil application: Daily
- Exfoliating scrub: Once weekly
Your nails, like delicate spring flowers, need consistent care to truly bloom. These simple treatments, performed regularly, transform brittle winter nails into strong, healthy canvases for spring expression. Have you given your nails the spring revival they deserve?